In this blog we will be look at the post-processing options that can be found in SOLIDWORKS Visualize
Often with rendering programs you must render the image out
and take it into a photo editing software such as Photoshop to get the exactly
what you want; darken the shadows, exaggerate the highlights, change the
saturation of the colours, add some blur for the depth of field. However in
SOLIDWORKS Visualize Professional this is no longer necessary as Visualize provides a lot of tools before you even start rendering out.
In this blog we will be look at the
post-processing options that can be found in the camera tab, but be sure to
check out our other blogs about depth of field, motion blur, bloom and all the
other Professional tools in Visualize that can help reduce time on Photoshop.
The post processing options are edited by camera which means you can have
different effects on different cameras – useful when comparing different
options. They can also be used in keyframe animations by editing the values in
the post-processing options for every new keyframe.

To start putting post-processing on all you need to do is
tick the post processing check- box.
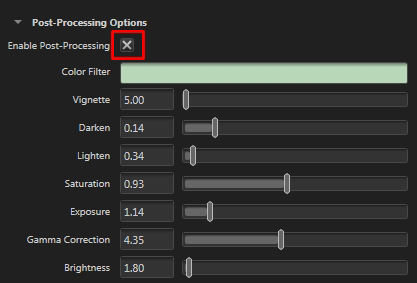
There are number of options to choose between:
Colour filter: adds a colour on the entire render between the
model and camera.
Vignette: Adds to the drama of the image by darkening the edges
of the image with a gradient to the center. This can help with draw the eye in
too where you want.
Darken: increase to get deeper, richer shadows
Lighten: make your highlights pop and come out of the picture
more
Saturation: increase to make
your colours appear more "pure” and dramatic. Decrease to get colours
appear more "washed-out", maybe you want an old fashioned looking
render.
Exposure: shift the
values for the entire image up or down to blow the highlights.
Gamma Correction: redistribute tonal levels closer to how our eyes perceive
them, so make sure your renders look as realistic as possible. Gamma correction
is available even when post-processing is cleared
Brightness: adjust the
mid-tones of the render while preserving highlights without consideration of
the contrast.
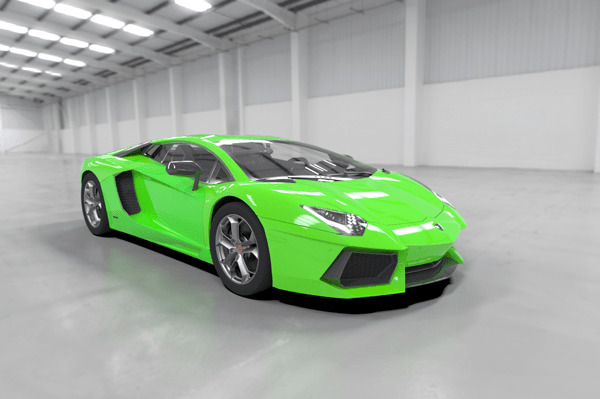
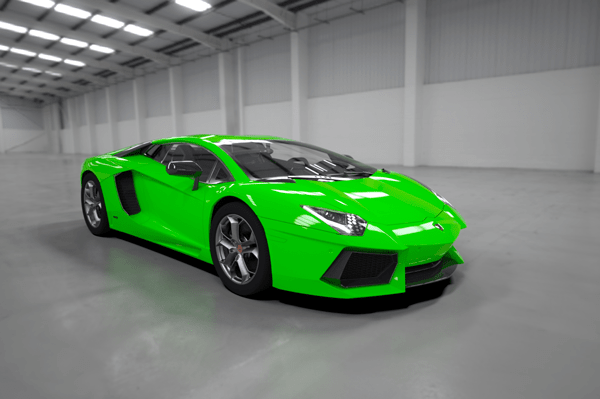
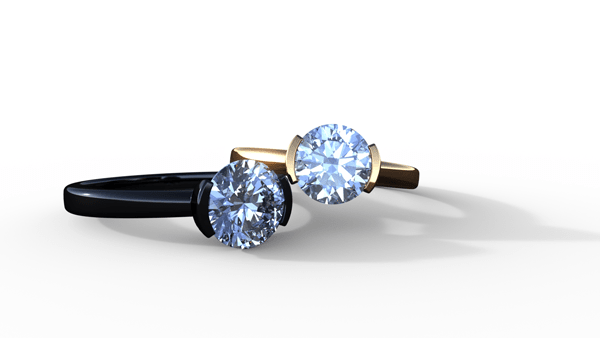
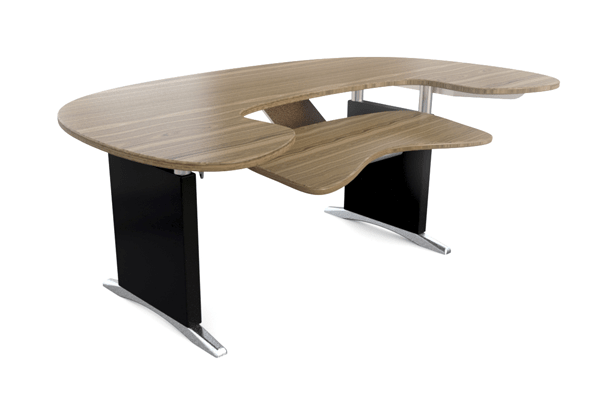
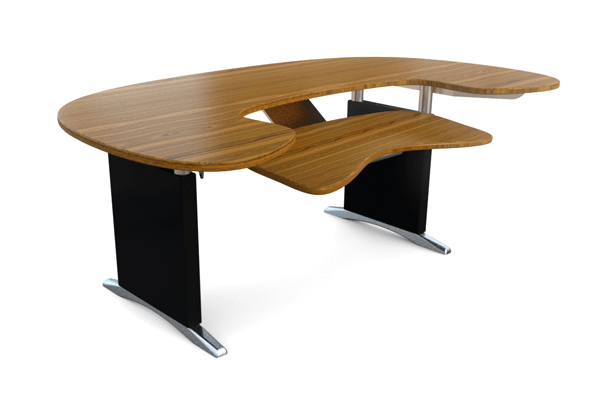
The difference between pre-post
processing and post post-processing can be seen below. Notice how much deeper
and richer the colours are, all without having to do anything in Photoshop.
Lamborghini without post processing:
Lamborghini with Post processing:
Rings without post processing:

Rings with Post processing:
Desk without post processing:
Desk with Post processing:
As with all rendering it is not as easy
as saying this is right and this is wrong but with the post processing options
it allows you to get something much more close to what you are after.
You can see the other blogs in this series on Visualize Professional below
Visualize Why Go Pro? 1-Configurations
Visualize Why Go Pro? 2 -Render Queuing
Visualize Why Go Pro? 3 - Walkthroughs
Visualize Why Go Pro? 4 - Motion Blur and Camera Options
Visualize Why Go Pro? 5- Auto Animations
By Chris Green
Application Engineer